

18 Jan Chipmunk Cupcake Tutorial
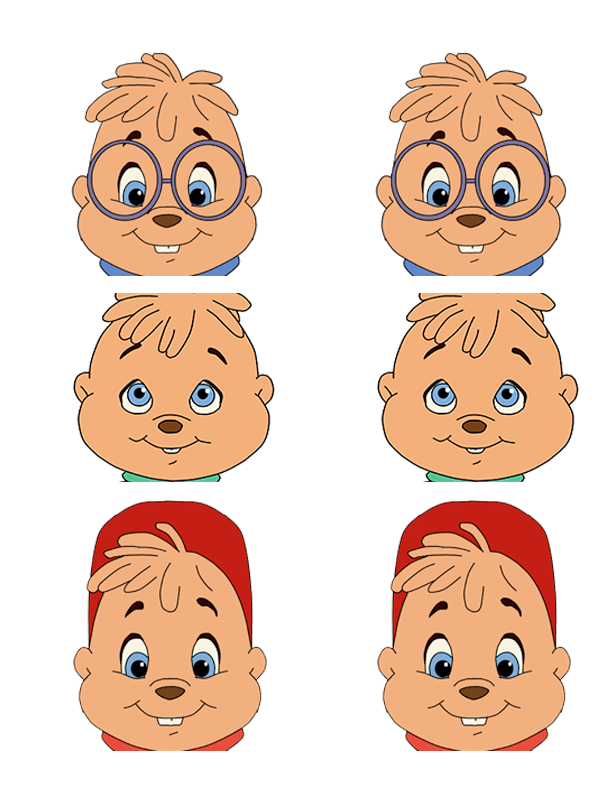
Alvin, Simon, Theodore! I’m an 80s baby and the cartoons from those years bring back after-school and Saturday-morning memories. While the newer versions of these cartoons are nice and feature lots of CGI and other special effects, the originals just hold a special place in my heart. Plus, they’re just better, in my not-so-humble-and-possibly-biased opinion. In other words, I’m just a big ‘ol kid at heart. I realize The Chipmunks have been around for quite some time, pre-dating even my favorite 80s version. But that’s neither here nor there. In honor of one of my favorite cartoons, I present to you the 80s version of The Chipmunks, in fondant form, of course. Here are a few pictures on how to go about making the whole chipmunk gang.
I must admit that I have a hard time taking photos of every single step, so you will have to simply use your imagination as needed. First and foremost, you will need to find an accurate depiction of The Chipmunks and print out the size you need. My cupcakes are usually around 2.5 inches in width and so I simply adjusted the pictures to the correct size. You may download the template I used here if you are so inclined. I usually cover the picture in clear tape and then cut the shapes out to use as a template.
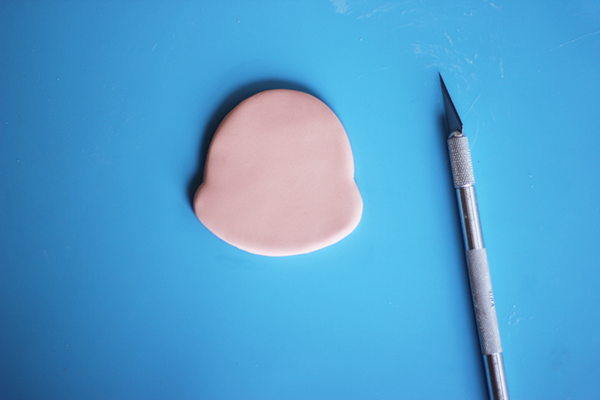
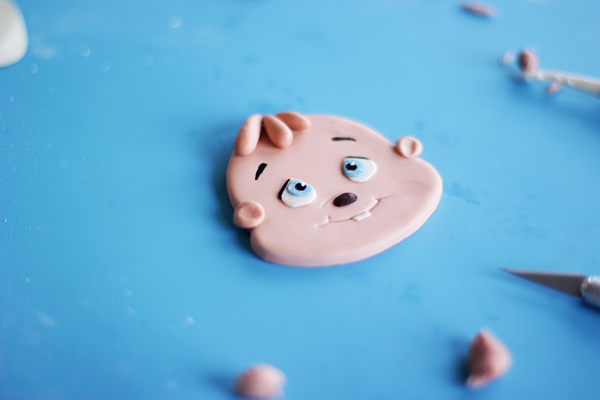
I rolled out some flesh colored fondant and then using my template, cut out the shape of the face for Theodore. Rub around the edges to soften them if needed.
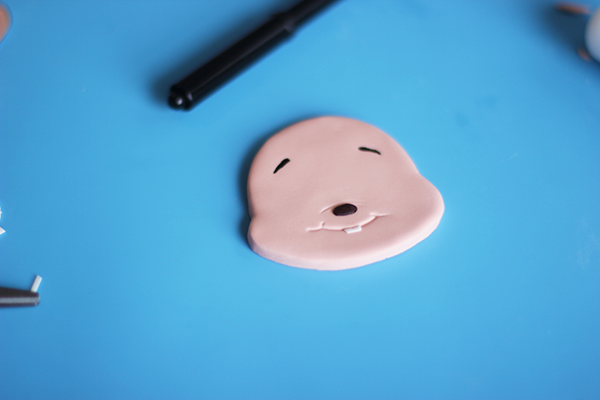
Next, I used a clay tool to create the mouth, using the template as a guide. Make some teeth using white fondant and the nose using dark brown fondant.

Using an edible ink marker, draw on some eyebrows.
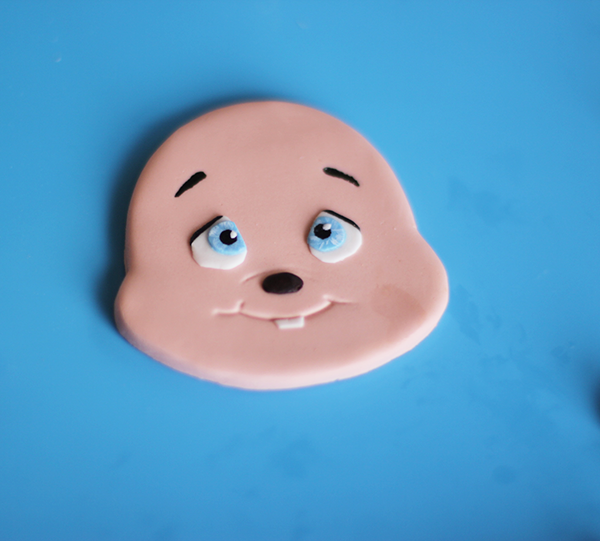
I made the eyes using white fondant, blue fondant and edible marker. I used my exacto knife to define the shape of the eyes to match Theodore’s as closely as possible. You can also see here that I was making a mess with my crisco shortening. No worries; this can be cleaned up with a little cornstarch after I’m all done.
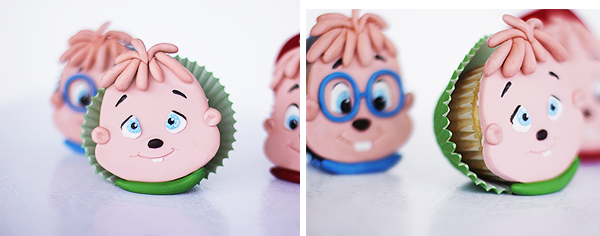
Next make the ears using a small amount of flesh colored fondant; make indentations with a clay tool. Behold the crisco.

Next, it’s time for some hair. Using the flesh colored fondant, roll out some sausage shapes and make one end pointy. I kind of just eye balled these and made them as close as possible to my template.
Once you’ve done all that, I would recommend letting The Chipmunks dry overnight or for at least several hours to help hold the shape. Then, you can simply ice your cupcakes and voila! Chipmunks!
Jenny Blender
Posted at 17:24h, 25 Apriloh my gosh! These just aren’t adorable but you have no idea how you’ve saved me with this idea!! My daughter is obsessed with the chipmunks and wants a chipmunk party but I can’t find any good chipmunk things. These are awesome and I’m going to get started right away. Many many many thanks for saving the day (or at least my soon to be 4 year-olds birthday party!!)